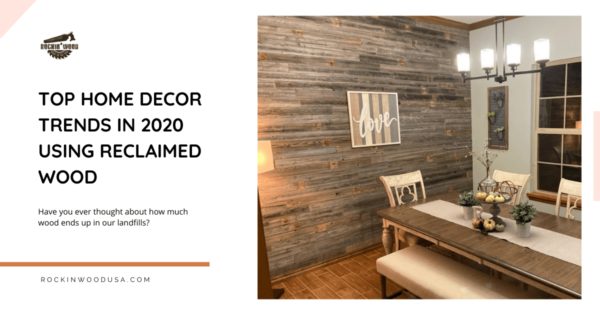
Nothing enlivens a dull and dreary room like perfect lighting.
While lighting is often overlooked by most amateur designers and homeowners, it is the one defining factor that makes or breaks the look of an interior.
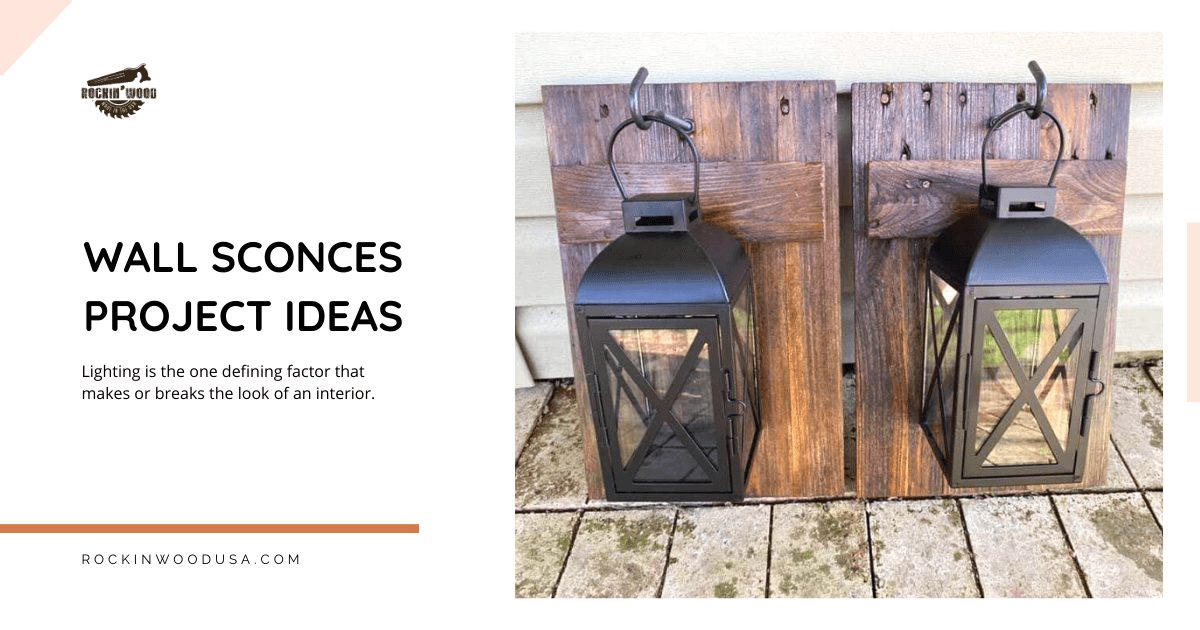
And today we shine a spotlight on one lighting fixture that is as versatile and far more resourceful than even the ever-popular pendant lamp! Wall sconces offer the perfect balance between form and functionality while demanding very little.
Material:
¾” thick Barnwood
Cut List:
(6) 3 ½ inches x 16 inches (2) 3 ½ inches x 9 ¾ inches (or 9 ½ inches for ½ inch spacing on the sides)
Tools/Supplies:
- Power Saw
- Cordless Drill
- Tape Measure
- Clamps
- Kreg Pocket Hole Jig 320
- Kreg 1 ¼” Pocket Screws
- Kreg 1” Pocket Screws
- Wood Glue
- Sand Paper (220 grit)
- Polyurethane
- 1” Paint Brush
- Screw Hooks (need to be at least 4 ½” long)
- Spray Paint
- Spray-on Clear Topcoat Sealer
Directions:
Step 1
Layout the boards that will be used in your project in order to select the boards that will look best for your project (Pic 1)

Step 2
Cut (6) boards to 16” long and (2) boards to 9 ¾” long (or 9 ½” long for a ½” on each side). If necessary, trim the width of each board to 3 ½”. After
cutting the boards to the right dimensions, I lay out the boards as shown in the picture in order to get an idea of what each piece looks like side by side

Step 3
After turning over the (3) 16” boards, I mark the inside edge with an “x”. Using my Kreg Pocket Hole Jig 320, set to the ¾” mark on the jig and drill
bit, I measure down 1 ½” from the top and bottom and drill my pocket holes on the inside edge of the (2) outside boards.

Step 4
With the boards ready to assemble, clamp down the centerboard to your workbench or table. While it isn’t necessary to glue your edges together
with pocket holes, I still glue the edges of my boards together as shown. With the clutch setting on my cordless drill set to 6, screw in your
1 ¼” pocket hole screws. Note: A higher or lower setting may be necessary depending on the wood.

Step 5
Clean out any excess wood glue with a wet shop rag on the front of your project

Step 6
Measure down 2 ¾” from the top of the boards and mark it. This will be where the top of your horizontal piece of wood will be placed. Put some wood glue on the back of the horizontal piece of wood being careful to stay away from the edges. Align the piece of wood at the previous mark. I use a speed square to make sure that it’s straight. Make sure there is even spacing on the sides. Using a clamp on each side, clamp the piece into place and turn over. Measure down 4 ½” on each vertical board and drill a pilot hole. Use a slightly bigger drill bit to create a counter sinkhole for your screw heads. Screw-in your 1” pocket hole screws to secure the horizontal piece of wood.

Congratulations, you have built yourself a set of wall sconces.
Repeat Steps 4 through 6 for the other sconce. If you decide that you want to put a coat
of polyurethane of the sconces, please follow the next steps. Otherwise, you can skip to Step 10.

Step 7
With the sconces assembled, I lightly sand the pieces by hand with 220 grit sandpaper. I do this to remove some of the rough edges while keeping the
authentic look of the wood.
Step 8
Using a 1” paintbrush, I apply a coat of polyurethane and allow to dry overnight. I personally use Minwax Fast Drying clear semi-gloss. The first
picture (Pic 11) shows how much it darkens the wood initially while the second picture (Pic 12) shows what it looks like after completely drying.
When I use barn wood, I only use 1 coat of polyurethane. If I use pallet wood, I will do two coats of polyurethane, and sand in between coats.

Step 9
When it comes to painting the screw hooks, I partially screw them into a scrap piece of wood as shown. Compared to other spray paints, I
have really had good luck with the Rustoleum Hammered Paint & Primer brand black in color. I believe it gives it the antique look that I am looking
for with these sconces.

Step 10
Once the screw hooks are completely dry, I follow up with a clear topcoat. Again, I use the Rustoleum brand of clear topcoat.

Step 11
I pre-drill a pilot hole for the screw hooks. To do this, measure in 5 1/8” from the edge, then down 1 ½” from the top. Screw in the hooks and your project is now complete (Pic 16). There are multiple hanging options available. I prefer to use a small sawtooth hanger.


Do you have sconce lights around your home? What is your preferred style? Is there a particular divider sconce that you are especially enamored with? Comment below.